
You may have heard of microneedling – it might have also been referred to as collagen induction therapy, or maybe by a more sinister name: the vampire facial. I recently treated myself to this new skincare treatment with my friends at B12 LOVE. I’ll be sharing the benefits, the how-tos of microneedling with PRP (platelet-rich plasma), and why I’m a huge fan of this new skin rejuvenation treatment, so read on!
Some years ago, Kim Kardashian posted a viral selfie of what looked like blotches of blood all over her face. At first glance, the amount of blood was shocking. It’s natural to think, “How could someone possibly go through a procedure that looks so painful and gory?” But after some research, I realized this photo is a bit deceiving. With my golden milestone birthday quickly approaching, I was filled with distaste for the deepening lines around my mouth and chin. Curiosity piqued – I went to B12 LOVE to learn more from the experts.
What is Microneedling?
Microneedling is an increasingly-popular anti-aging skin rejuvenation treatment involving tiny needles to stimulate facial collagen production. Microneedling can also help improve the appearance of scars, wrinkles, discoloration, and other signs of aging skin. The microneedling “pen” creates “micro” punctures in the skin that utilize the body’s healing response, boosting collagen and elastin production.
What is PRP?
So, where does platelet-rich plasma (PRP) come into the picture? PRP is sometimes called the “secret sauce” to the face—not the red blood cells, as the appearance in the social media post may have you believing. Microneedling can be done with peptide gel, hyaluronic acid serum, or in my case, platelet-rich plasma. According to B12 LOVE: “PRP contains a concentrated amount of your blood platelets that are chock-full of proteins called growth factors—responsible for healing wounds and stimulating collagen production. Adding PRP to microneedling enhances the results, speeds the healing process, and helps boost cellular renewal. This results in brighter skin that looks and feels younger.”
Benefits of Microneedling with PRP
Microneedling with PRP has a few main benefits that make it a standout treatment, especially if you want to address specific concerns (acne scars, sun spots, etc.) and/or enhance your natural glow:
- Minimally-invasive
- Evens skin tone
- Minimal downtime (one to six days at most)
- Helps reduce the appearance of enlarged pores, acne scars, uneven skin tone, fine lines and wrinkles, and (the dreaded) sun damage
When discussing benefits, my practitioner (a Naturopathic Doctor) gave me more context on skin longevity. “The natural capacity of the skin to produce collagen decreases with age due to various other factors,” Dr. Ashika explained. “That’s why I think anyone can benefit from microneedling, especially with PRP, to improve the overall tone, vitality, and natural glow of your skin. Microneedling can also help to firm, improve texture, shrink the appearance of pores, blur acne scarring, and stimulate collagen production and cell turnover.” She also mentioned that it’s safe for all skin types and tones. Commonly treated areas include the face, neck, and décolletage (a fancy word for chest area).
The Cost
The cost ranges from $400 to $1,300 per session, depending on your desired treatment location (face, neck, chest, etc.) and any additional PRP treatments you plan on having. B12 LOVE offers one of the only FDA-approved microneedling pens available to the public. Trained Naturopathic Doctors also perform the treatments which is an important difference from similar providers in the area who use trained, but non-licensed practitioners. Because of these differences, the price tag is slightly higher, but it’s 100% worth it. B12 LOVE had clearly done its homework and sought out the best of the best when it comes to these types of treatments.
What to Expect During Microneedling with PRP – Photos & Results
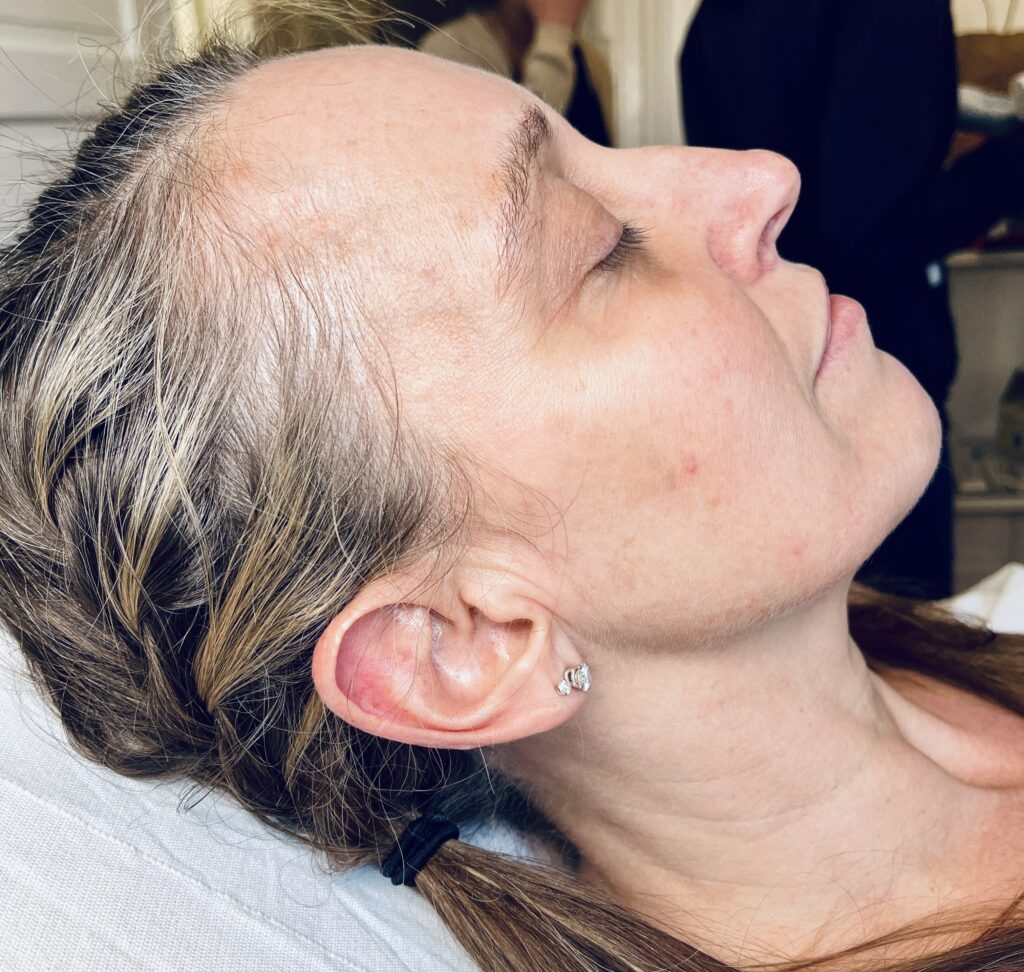
Before treatment:
My practitioner began by explaining her tools and what I could expect throughout the process. We discussed my areas of concern: uneven skin tone due to sun damage, and deeper wrinkles around my mouth and eyes. I also hoped to address that my skin felt dull, plus a few persistent acne spots I wished to resolve. It was helpful for her to walk me through the process beforehand, calming my fears about the procedure. My primary fear was pain, but she addressed that quickly with the next step.
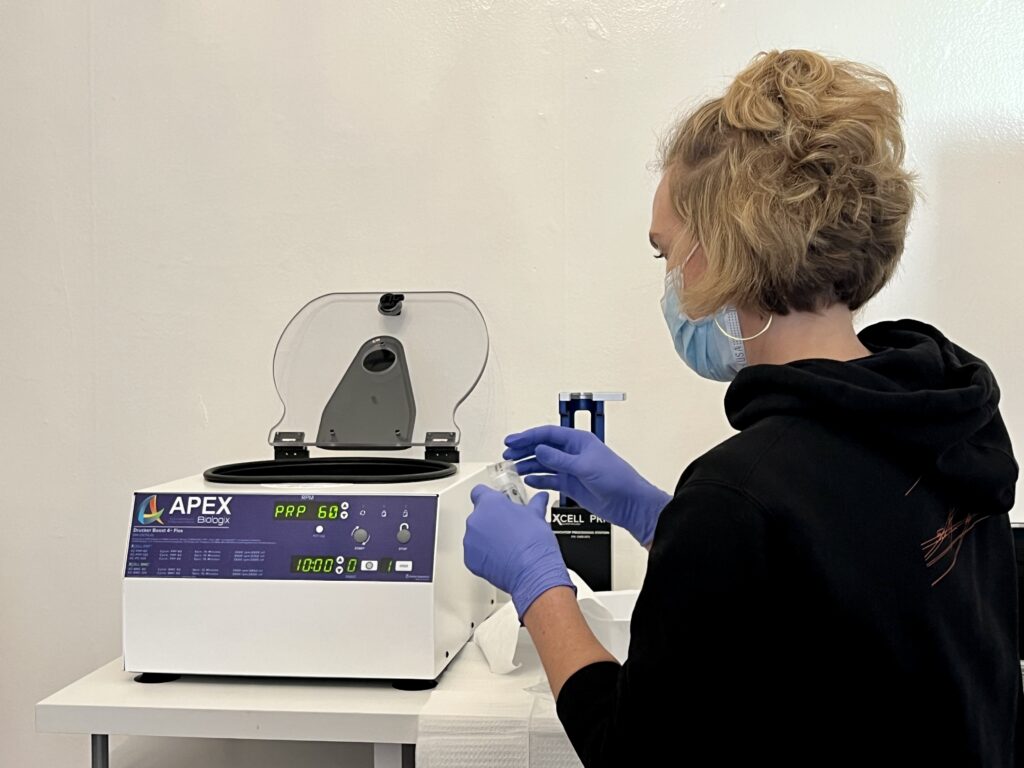
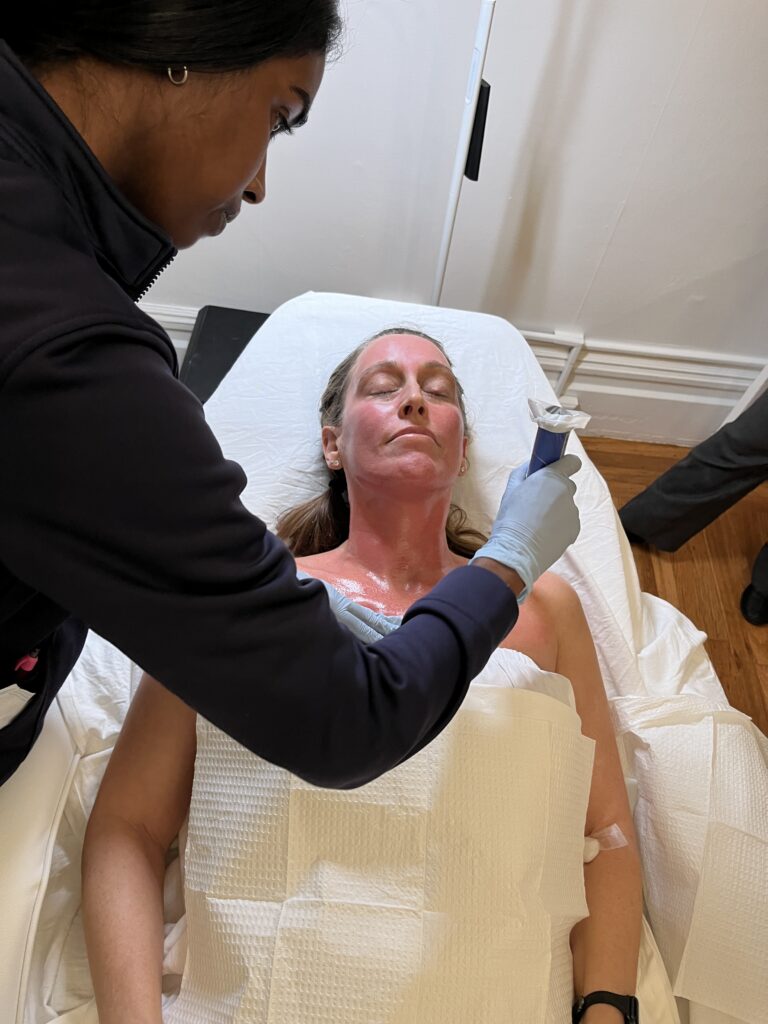
She started by applying numbing cream to my face and neck so I wouldn’t feel the microneedles during the treatment. She then extracted a small sample of my blood and inserted it into a centrifuge, a medical machine that separates the red blood cells from the plasma. After a few minutes of spinning, the blood was taken out of the centrifuge, and I could instantly see the separated PRP (clear, yellow fluid), red blood cells, and white blood cells. This mixture is often called “liquid gold” which seemed fitting given the birthday I had coming up.
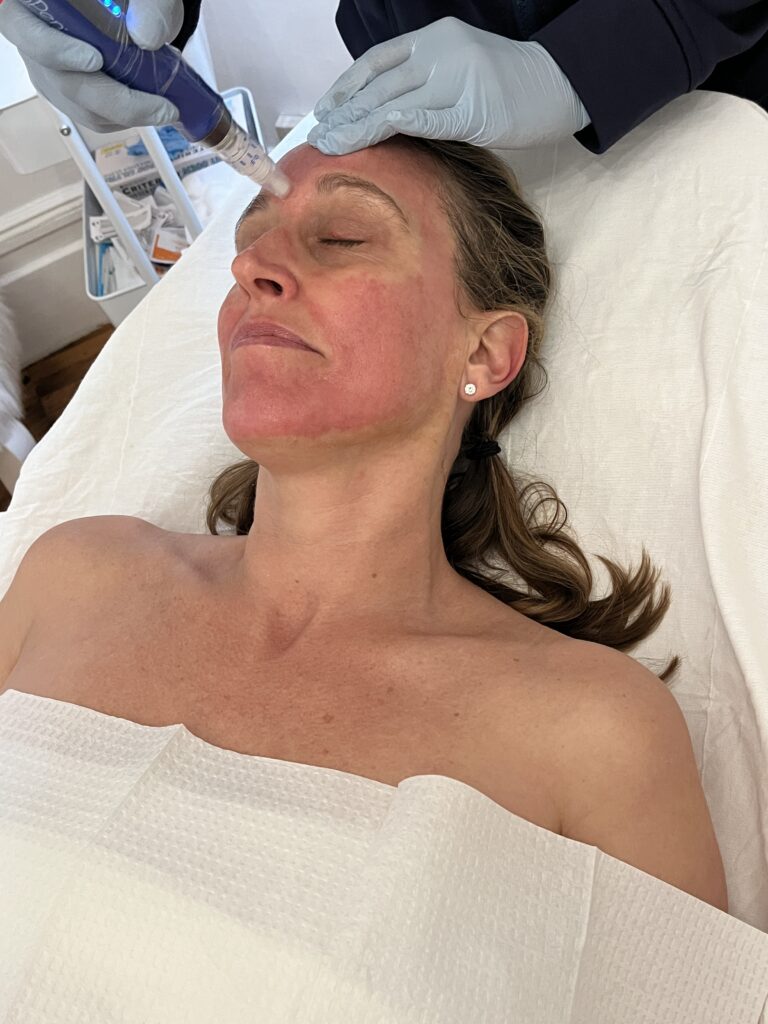
During treatment:
At this point, I was reclined in the comfy treatment chair, reminiscent of being in a fancy spa and receiving a facial. After applying all the PRP solution on my face and neck, Dr. Ashika used the microneedling pen in a circular pattern. I didn’t feel any pain, in fact, it felt rather ticklish. The process repeated as she precisely worked around my face, neck, and upper chest area. Some areas of my face and neck were more sensitive than others, especially around the top of my forehead, my lips, and in one spot near my clavicle, but the numbing cream was doing its job. I was surprised to see my skin’s redness despite no blood cells and little to no pain. It looked nothing like the Kim Kardashian photo, which I was thankful for. Even though microneedles were involved, I felt quite relaxed throughout the treatment.
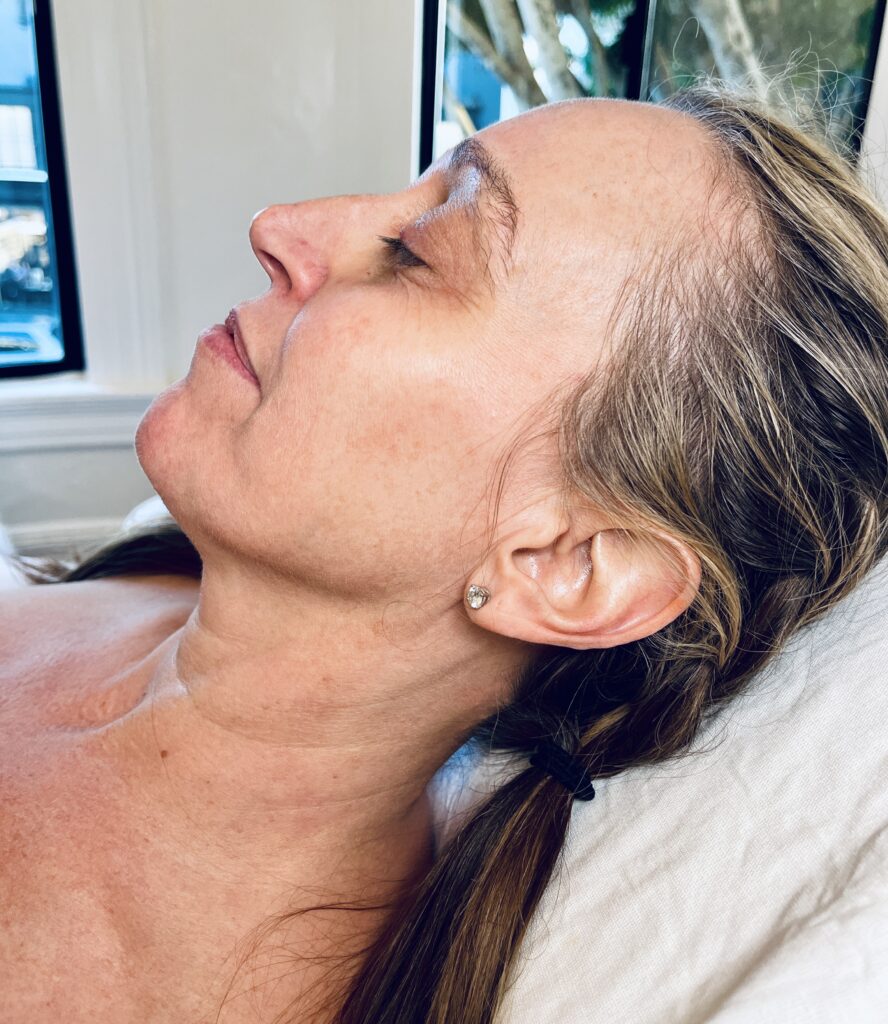
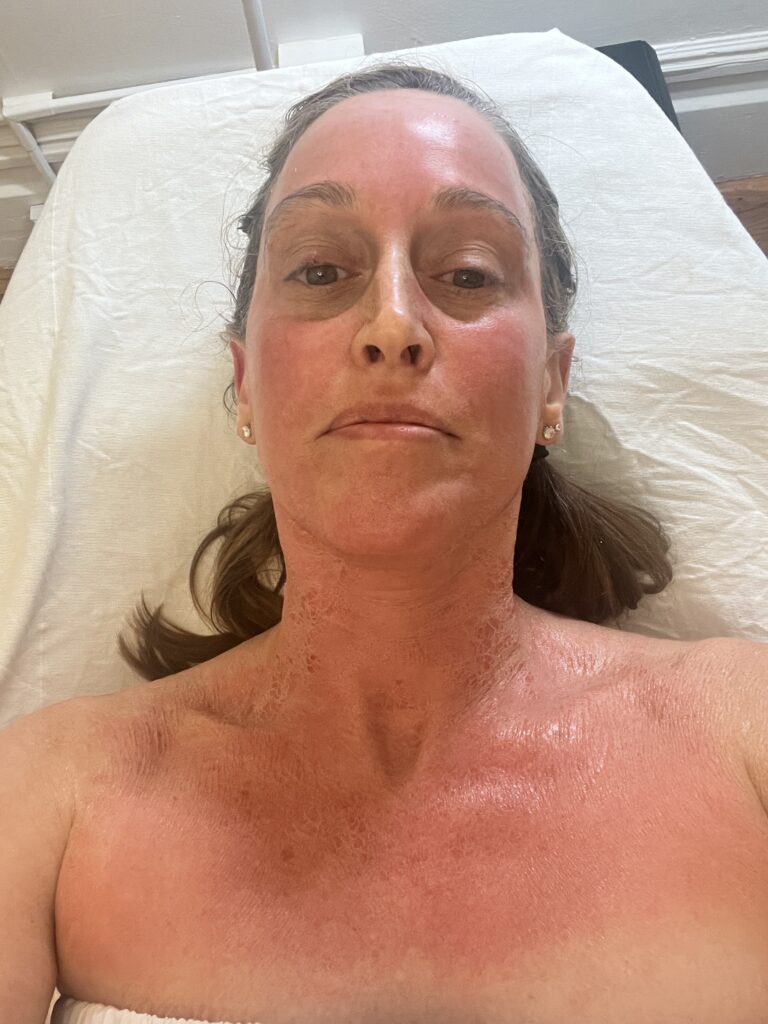
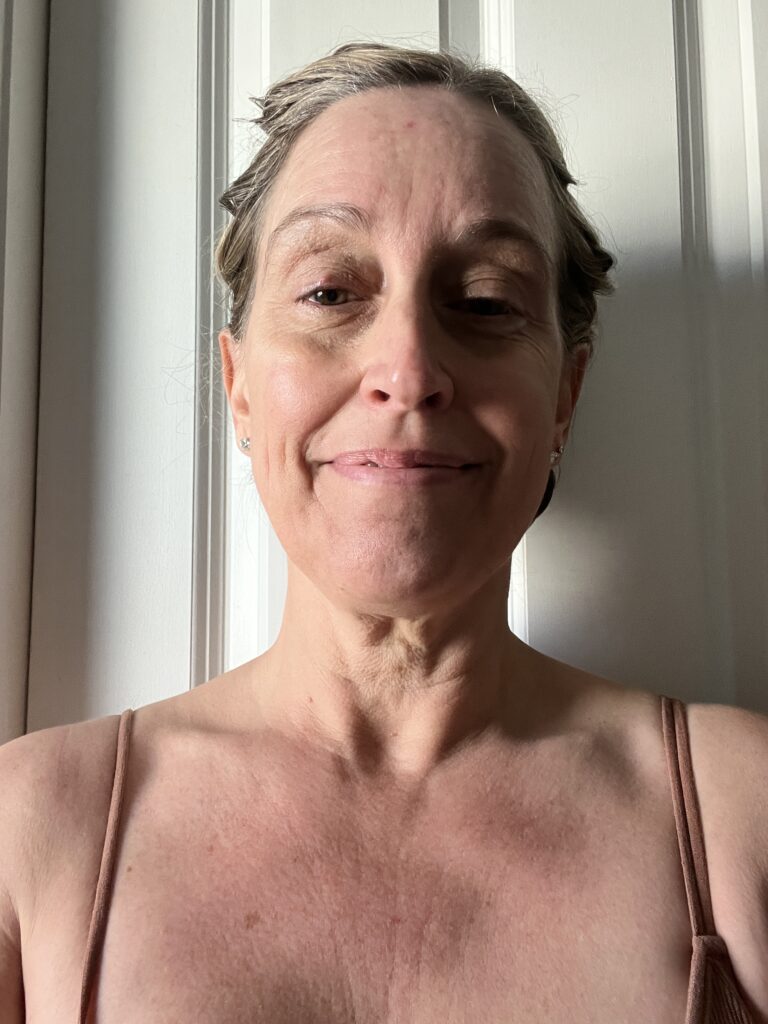
Immediately after treatment:
Overall, I felt little to no discomfort during the treatment. After the treatment, my face felt tight, and I could feel the dried plasma layer on my skin, similar to a clay mask. As advised, I had brought a clean, cotton, loose-fitting shirt to wear afterward, and a wide-brimmed hat to shield my treated skin from the sun. I was guided to do my best to keep out of the sun and not touch my face for 24 hours. (Now, THAT was going to be a challenge!) I was very thankful for my loose-fitting, soft shirt rather than the wool sweater I had arrived in.
Six hours after treatment:
With the numbing cream fully worn off, I started noticing a tightness and a mild sting, similar to what you’d feel if you were in the sun for too long. I generously applied the B5 gel, which felt soothing on my skin. I also took the Tylenol that was provided in my goody bag and wished I could swallow it with a nice glass of wine. (Sadly, no alcohol is allowed 24 hours before and after treatment to minimize the risk of bruising.) Later that evening, the redness had significantly subsided. I changed my pillow case as directed and slept on my back with my head slightly elevated to help reduce swelling.
24 hours after treatment:
My face wasn’t as red as the previous day, but my skin still felt tight, and there were some crusty areas where the PRP layer remained. I was thankful to be able to wash my face with the gentle cleanser and cool water which felt heavenly on my skin. I reapplied the B5 gel and moisturizer frequently and liberally for the next two days.
Three days after treatment:
The redness and tenderness had fully resolved, and my face began to shed dead skin. I made sure to keep it clean and frequently moisturized during this stage, and decided to wait another few days before resuming my normal makeup routine. In the meantime, I washed my makeup brushes thoroughly (as directed).
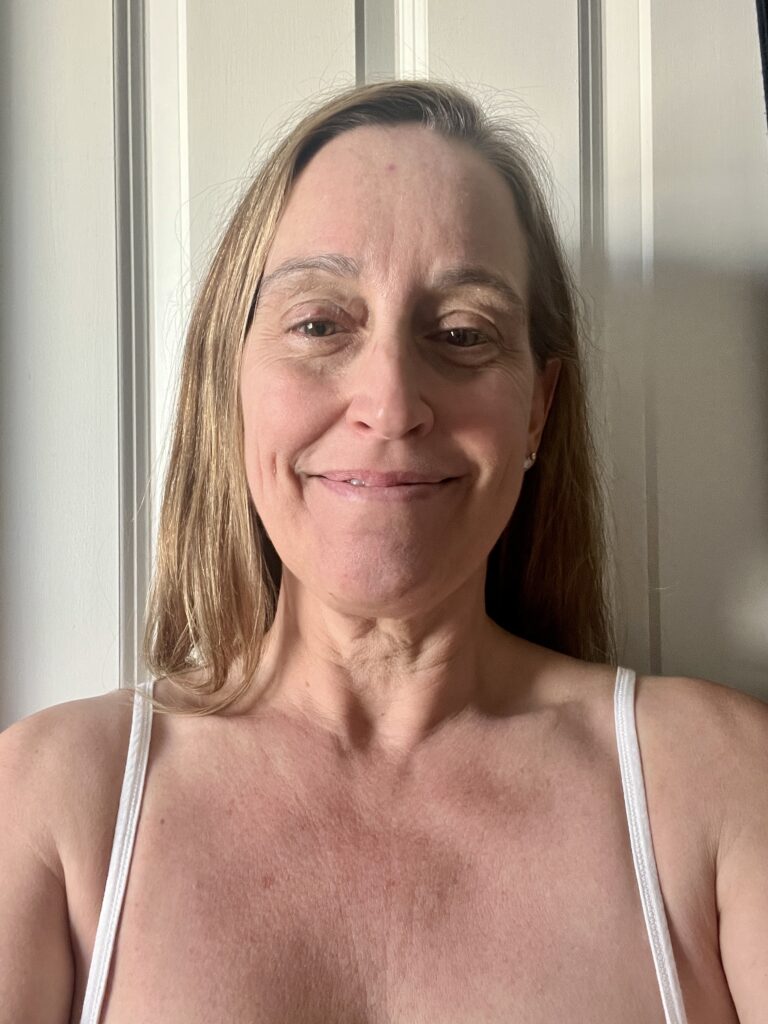
Five days after treatment:
Most of the flaking was gone, and I noticed my face looked plumper and smoother. I also realized my dark circles had nearly disappeared, and the marionette lines I dreaded looking at had also noticeably filled in.
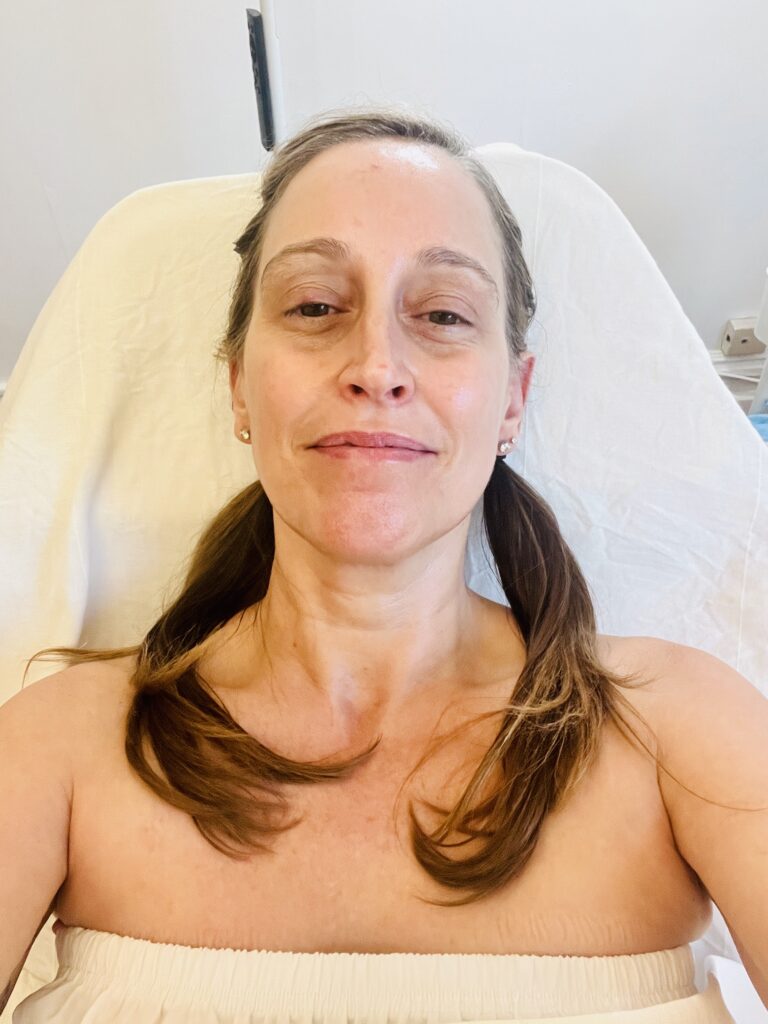
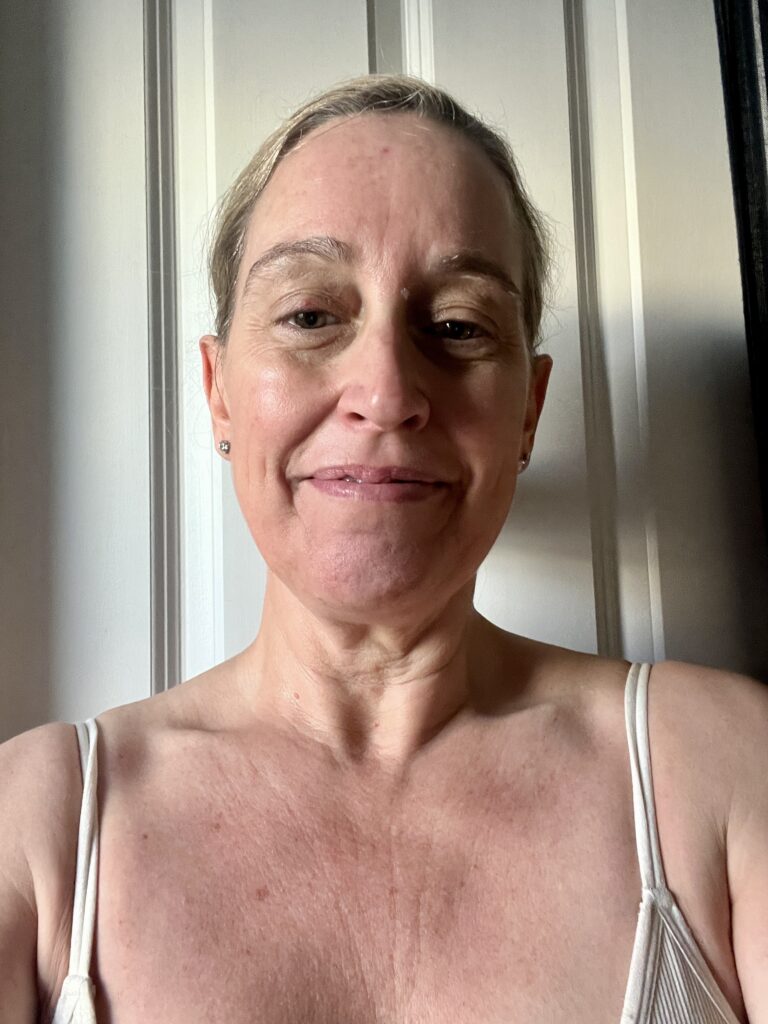
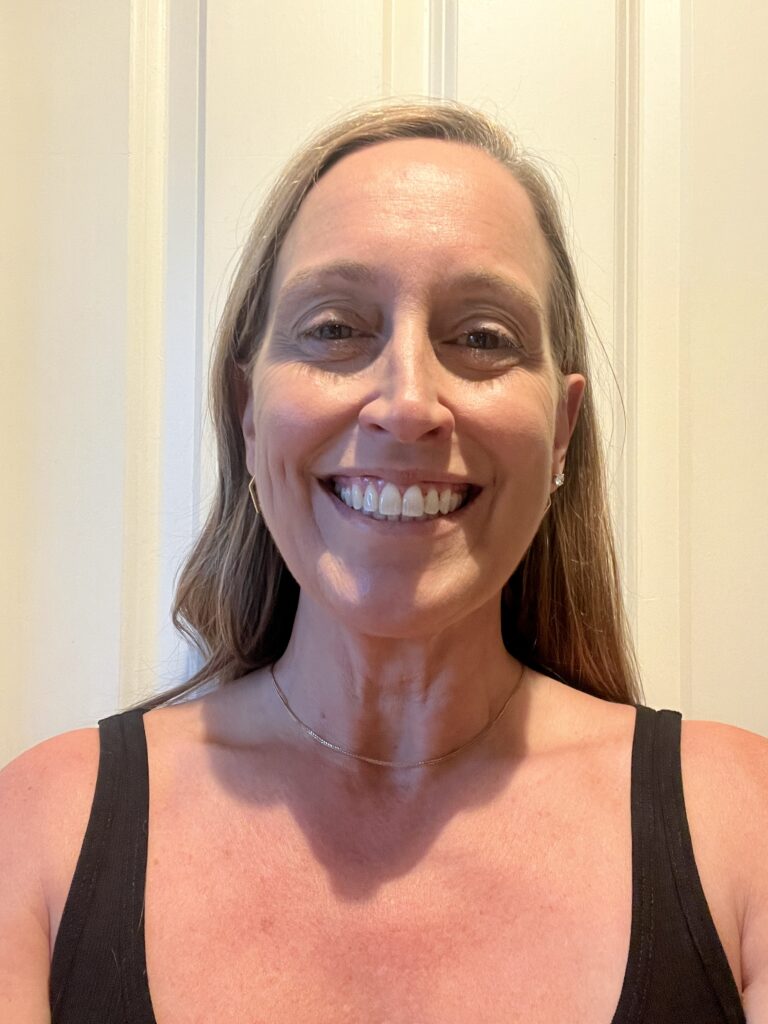
Nine days after treatment:
Wow. My skin felt hydrated, rejuvenated, and refreshed. My under-eye circles were no longer as deep compared to before the treatment, my smile lines were less noticeable, the few age spots on my chest were lighter, and the annoying, persistent blemish on my forehead was finally gone! It was truly amazing to see the entire process of the treatment. I definitely will be doing it again!
My Product Picks
Rose Geranium Cleanser – The Body Deli
Nutra Peptide Serum – The Body Deli
Hydrating B5 Gel – SkinCeuticals
Creme De La Rose – The Body Deli
Notes About Aftercare
I left the procedure appointment with my face feeling very tight and looking bright red (which was expected). The redness was not because of the blood since my treatment did not contain red blood cells. It made me realize that Kardashian’s photo was exaggerated, considering red blood cells are not usually used in a PRP treatment.
After a few hours, the numbing cream started to wear off, and I began feeling more of a mild sting. It felt like I had too much sun that day, but the pain was far less than anticipated.
Every day during my five-day recovery period, I did the following:
- I did everything I could to avoid sun exposure. When out, I wore hats and a scarf around my neck for further protection.
- I wore sunscreen and moisturizer all day and often reapplied (something I NEVER do).
- I used a milky, gentle facial cleanser, and used up almost the entire bottle of B5 gel. My skin soaked it in like crazy for the first three or so days.
- I avoided toners, acids, and other harsh products that might irritate my healing skin.
- I washed all of my makeup brushes before using them again. I would not have considered this, so I was happy with the instructions.
After day two, you don’t feel as much burn or sting. On day three, you’ll likely see your face peel or flake a bit due to an increased turnover of skin cells. I saw the best results 10 days after my appointment. While I don’t have many wrinkles (thank you, mom, for the good skin genes), my sun spots were lighter, and my face felt much more hydrated and plumped. The most amazing results were the increased fullness of my smile and improved marionette lines. It looked like I had gotten filler – something I had never done before or even considered.
Although the aftercare is very light, remember that you have disrupted the skin barrier, so some irritation is normal. The key is to keep your skin protected and moisturized. Though redness and slight bruising are common symptoms, talk to your physician before treatment if you are at risk for infection, swelling, and tenderness.
The guidance is that most people will need three sessions to achieve the benefits of these types of treatments. You might need four to six treatment sessions to treat more extensive issues like acne scars. Each session must be four to six weeks apart, so plan to dedicate some time to these procedures. It’s also extremely important to get the treatment done by a professional. I also learned that PRP has to be your own, and by no means are you able to use anyone else’s plasma.
Final Takeaway
Microneedling with PRP is one of the more “worth it” treatments I’ve undertaken. Unlike a chemical peel, the stimulation from microneedling with PRP enhances the collagen already present in your dermis, making it a treatment that works harmoniously with your body. It was also less painful than Botox. I also appreciated that it was more natural, unlike fillers. This experience has definitely convinced me to continue with PRP Skin Rejuvenation therapy. I would honestly recommend this to anyone! I feel that anyone of any age can benefit from microneedling (especially with PRP) to improve the skin’s overall tone, vitality, and glow.
Written by Drea H.
B12 LOVE Fan & Aging-Gracefully Enthusiast